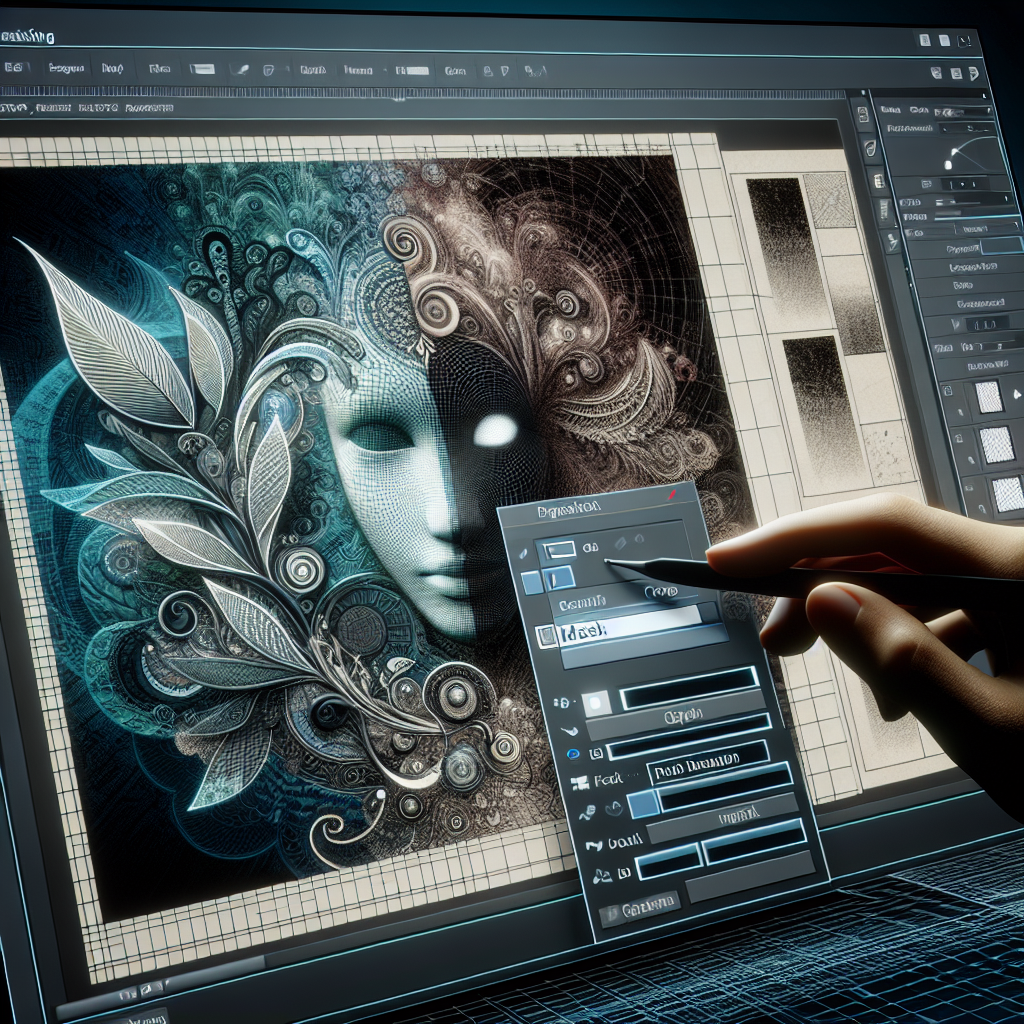
Graphic design software masks are tools that designers use to isolate specific areas of an image or layer, thus manipulating only the isolated area without affecting the rest of the image. They are integral to graphic design and add great flexibility to digital creative workflows. “Mask” is an apt term because much like a physical mask hides or reveals parts of one’s face, a software mask enables the hiding or revealing portions of an image or layer. Understanding how masks work in graphic design software empowers users to handle complex design tasks efficiently.
Understanding the Types of Masks
There are four main types of masks to understand in graphic design software. They are:
-
Layer Masks:
This type of mask controls the transparency of the layer they are applied to. They are often applied in photo editing to merge multiple images together or for applying effects selectively. Layer masks are either white, black, or shades of gray – where white reveals, black conceals and gradients enable partial transparency.
-
Clipping Masks:
This type of mask uses one layer to determine the visibility of the layer above. The upper layer takes the shape of the pixels in the layer beneath. Clipping masks are commonly used for text effects or to put an image inside text.
-
Alpha Channel Masks:
This mask type uses invisible channels to store selections, which can be loaded or edited at any point. They allow much detail and are ideal for separating objects from their backgrounds.
-
Vector Masks:
This mask type creates masks with vector paths and are resolution-independent. Vector masks produce clean, hard edges and are perfect for designs that require scaling.
How to Use Masks
Layer masks: Masks can be added by clicking on the layer mask icon at the bottom of the layers panel. Painting on the mask with black will hide those areas; with white will reveal them.
Clipping Masks: Position a layer beneath the layer you want to mask. Then, create a clipping mask by selecting “create clipping mask” in the layer menu or pressing the command key with an arrow pointing downwards.
Alpha Channel Masks: From the Channels panel, add a new channel and paint your mask onto the channel with white, black and gray, the selection can then be loaded into your image.
Vector Masks: Using the pen or shapes tool, draw your mask directly onto the preferred layer.
Conclusion
Graphic design software masks are an exceptionally valuable feature, emphasizing flexibility and simplicity while creating sophisticated design tasks. They provide a non-destructive way to edit or modify images, retaining the original image underneath, a cornerstone in the art of digital graphics designing.
Frequently Asked Questions(FAQs)
-
What is a layer mask in graphic design?
A layer mask is a tool in graphic design software that lets users hide or reveal different parts of a layer. Anything hidden on the layer mask can be revealed again if needed, giving you complete flexibility.
-
What is the difference between a mask and a clipping mask?
A layer mask adjusts the opacity of the layer while a clipping mask uses the content and transparency of one layer to determine the visibility of layers above.
-
What are alpha channel masks used for?
Alpha channel masks are used for creating complex masks that can be saved and edited later, and are ideal for separating objects from their backgrounds.
-
Do vector masks affect image resolution?
No, vector masks do not affect the image resolution because they are made of vector paths, not pixels, which are resolution-independent and can scale without losing quality.
-
How can I edit a layer mask?
To edit a layer mask, simply select the mask in the layers panel and paint directly onto the mask using white, black, and shades of gray.

